How to connect a home theater to a computer
Before you figure out how to connect a home theater (DC) to a computer (PC), you should decide — why do this? And then with the help of simple manipulations, you can turn a loaf of bread into a trolley bus, but there will still be little point in this.
There are three reasons why you might want to connect a home theater to your computer:
-
Using the monitor as a TV — if the latter is broken, but you want to watch a movie;
-
Using a DC as an audio system with a built-in amplifier — if the regular computer speakers are not impressive and you want something more spectacular (or at least loud);
-
LAN connection — to watch movies downloaded to your PC on a big screen with surround sound.
But using the DC as a DVD drive or even a DVD ripper will not work. And if you want to watch the downloaded movie on a big screen with surround sound, you will need to separately connect the TV to the PC and DC as an amplifier.

How to connect a home theater to a computer monitor
This instruction is useful for those who have a broken TV, but want to watch a movie with surround sound.
You will need:
-
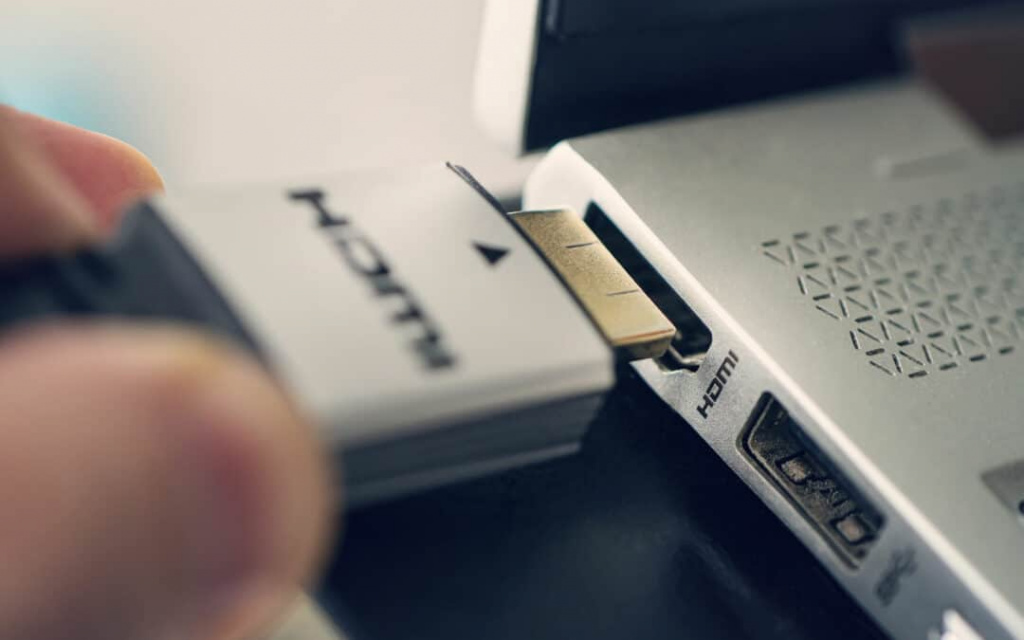
Monitor and DC with HDMI connectors;
-
HDMI cable.
-
The instruction may not work if:
-
The monitor or DC is not equipped with HDMI.
Procedure:
-
Insert the HDMI cable plugs into the corresponding connectors on the monitor and DC;
-
Turn on both devices.
If suddenly the monitor does not have HDMI, but has VGA, then you will need another cable — «tulips» -VGA. It is quite rare for sale. In addition, such a connection is justified only in one case — both the TV and the PC are broken, it’s very boring, you have to review the DVD collection on a strange combination of a VGA monitor and a home theater.
How to connect a computer to a home theater system to transmit and amplify sound
In most cases, DCs are equipped with an excellent audio system with multiple speakers and a built-in amplifier. And why not take advantage of it? For example, surround sound in games will improve immersion in virtual worlds.
True, in this case it will be rather “pseudo-volumetric”, since a two-channel audio stream will still be sent to the DC.
You will need:
-
Cable with «two tulip» connectors — «3.5 mm minijack» (RCA — Jack 3.5).
-
The instruction may not work if:
-
The DC does not support external sound sources.
Connection:
-
Find on the DC two input (Input) connectors under the «tulips»;
-
Insert plugs «tulips». It is advisable to observe color polarity (red — to red, yellow — to yellow);
-
Plug the minijack into the headphone jack on the PC;
-
Turn on the DC and set up the external device by setting the appropriate sound scheme. Or use automatic settings.
You may also need to select speakers on your PC if you have multiple sound devices connected to it and the sound card does not automatically switch between them. To do this, click on the «Volume» icon in the tray (near the clock) and set «Headphones» as the active playback device.
You will have to “conjure” with the settings on the end device. Depending on the model, you will either have to carefully set the virtualization parameters, or agree with the proposed automatic presets. And in budget models, it’s completely simple to choose a signal source — RCA In.
How to connect a home theater to a computer via a local network

The most practical version of the «bundle». For example, you can download a movie to your computer — and immediately play it on your home theater, with a large screen and multi-channel surround sound. However, this connection method requires both compatible hardware and some knowledge.
You will need:
-
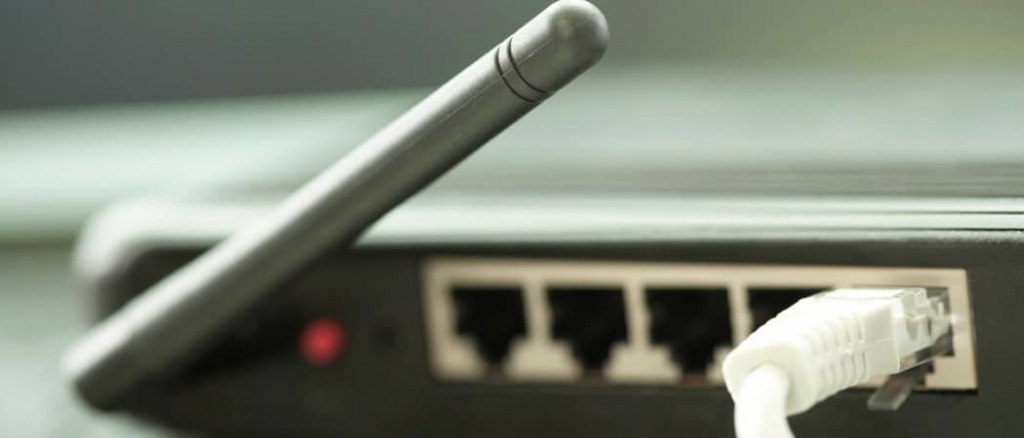
Local network (better wireless, Wi-Fi);
-
Compatible DC;
-
Software for creating a media server.
The instruction may not work if:
- The DC does not support Wi-Fi or video stream reception.
Connection:
-
Connect the DC to Wi-Fi;
-
Make sure the DC and PC are on the same local network. If you have one router at home, then this requirement is met;
-
Install a media server on your PC. It can be something like KODI, or special software that is recommended by the manufacturer of the DC.
Further actions depend on the specific DC model and its support for certain technologies. So, if the DC is compatible with DLNA technology, then in the media server program it will be enough to select the DC as a “receiver”.
If the DC is not compatible with it, but the manufacturer recommends one or another software, then in the DC settings you need to select the item «Source» (Source) — «Local Area Network». Depending on the model, this item may be called differently.
It is strongly recommended that you read the instructions for the DC before this connection. The fact is that different DC models have different interfaces and support different technologies. Therefore, it is not possible to write a universal instruction.
Добавить комментарий
Для отправки комментария вам необходимо авторизоваться.